How to 3D Scan Objects Using Polycam
Getting Started
Step 1: Request the iPad
Visit the Innovation Hub and ask the IT staff for the iPad designated for 3D scanning.
Step 2: Open Polycam
- On the iPad home screen, tap the Polycam app (no sign-in required).
- You do not need an account to start scanning.

Capturing Your Object
Step 3: Start a New Scan
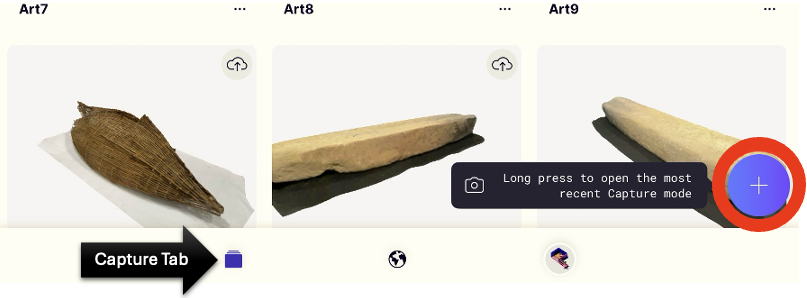
- Tap the Capture Tab (bottom left).
- Press the + (plus) button to start a new scan.
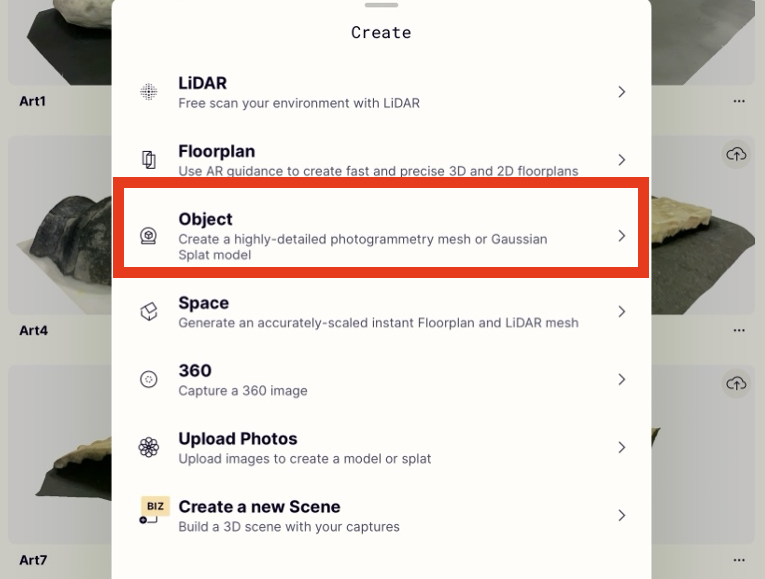
Step 4: Choose "Object Mode"
- Select Object Mode to begin scanning a physical item.
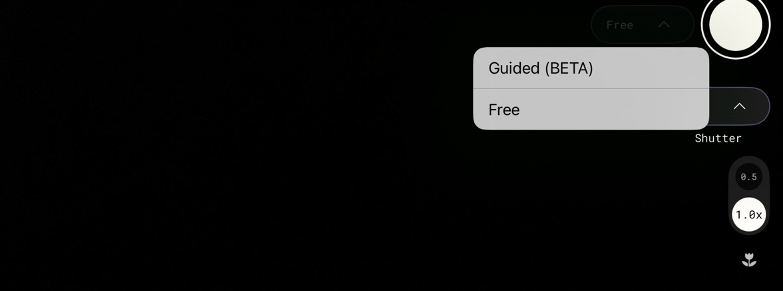
Step 5: Choose Your Capture Mode
- Guided Mode: Best for first-time users; provides step-by-step instruction.
- Free Mode: Manual capture for the experienced users.
Tips for Best Scanning Results
- Use a solid, stable surface. A black tablecloth is ideal for light-colored objects.
- Ensure good lighting. Natural or diffused lighting works best.
- Follow image count suggestions. Guided mode will indicate how many photos are required.
- Move slowly. Maintain a steady pace. The app may prompt you with feedback like "slow down".
- Capture all angles. Walk around your object and keep at least 50% image overlap.
Precessing and Exporting Your Scan
Step 6: Upload Images for Processing
- After capturing, Polycam will prompt you to upload your images.
- Processing time depends on image count and scan complexity.
Step 7: Review and Crop
- Once processed, you can view and crop your scan.
- The file will auto-save with the current date and time.
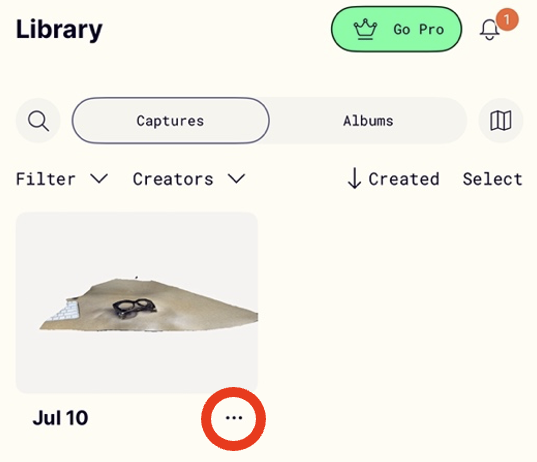
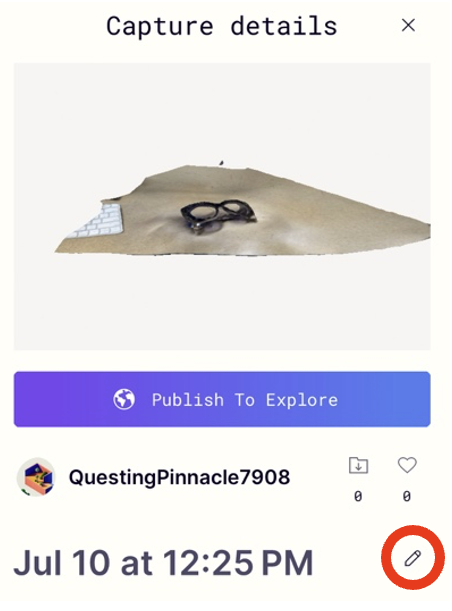
Step 8: Rename Your Scan
- Tap the three dots next to the scan name.
- In Capture Details, tap the pencil icon to rename or add a description.
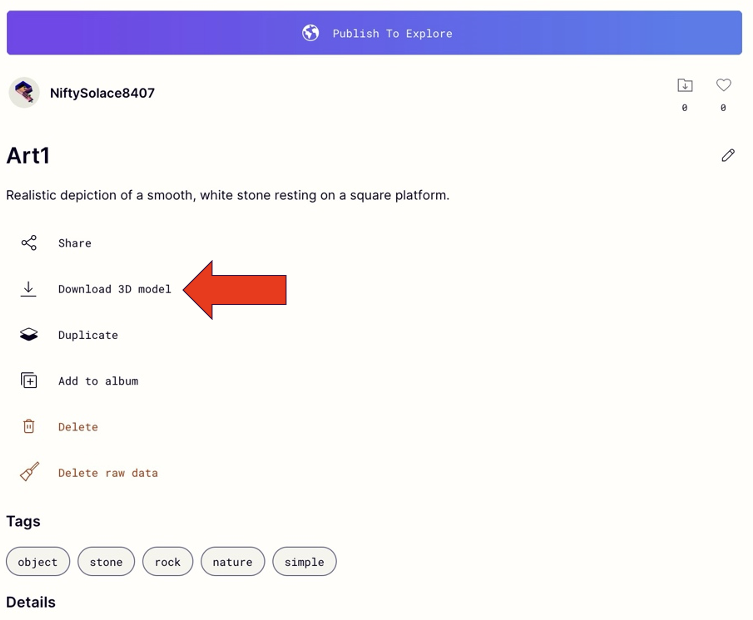
Step 9: Export Your 3D Model
- Tap Download 3D Model to begin exporting.
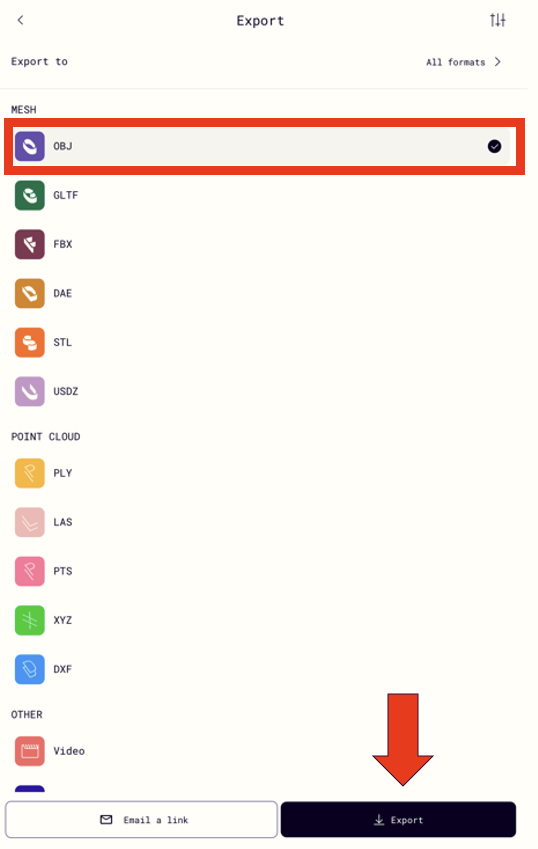
Step 10: Chose a File Format
- STL -- For 3D printing.
- OBJ -- For use in 3D design or digital exhibitions.
Step 11: Export the File
- Tap Export in the lower-right corner.
Step 12: Transfer via AirDrop
- AirDrop your file to your Apple device.
Note: The scanning iPad is currently locked, so AirDrop is the best method to transfer files off the device. Afterward, upload to Box or another platform if needed.

Notes about the different platforms:
Depending on your project needs, you may want to publish your 3D models. One of our projects was scanned artifacts of the Anthropology Museum in Old Main, so we found that using Sketchfab was the easiest way for patrons to access their 3D images and view them. Patrons can create a free account but are limited to 9 uploads before needing to pay for a subscription. Furthermore, the scanned items are public and viewable by anyone on the internet. Access Sketchfab at sketchfab.com.